|
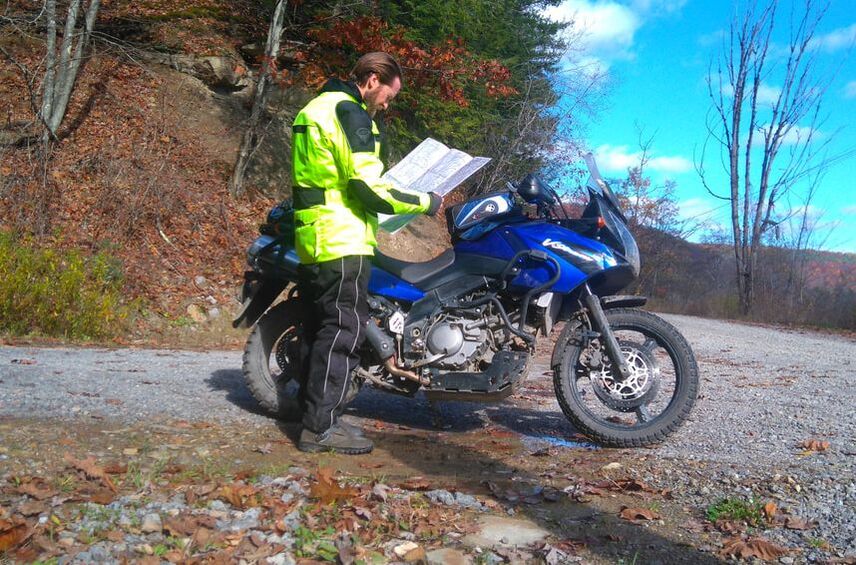
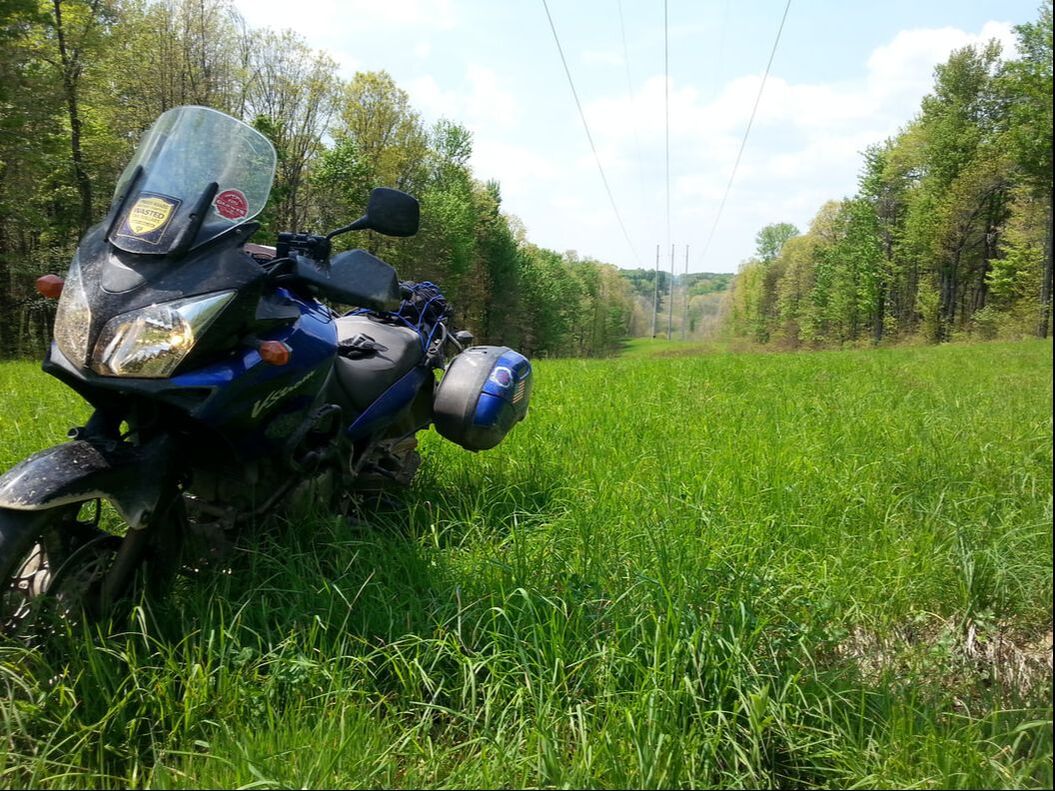
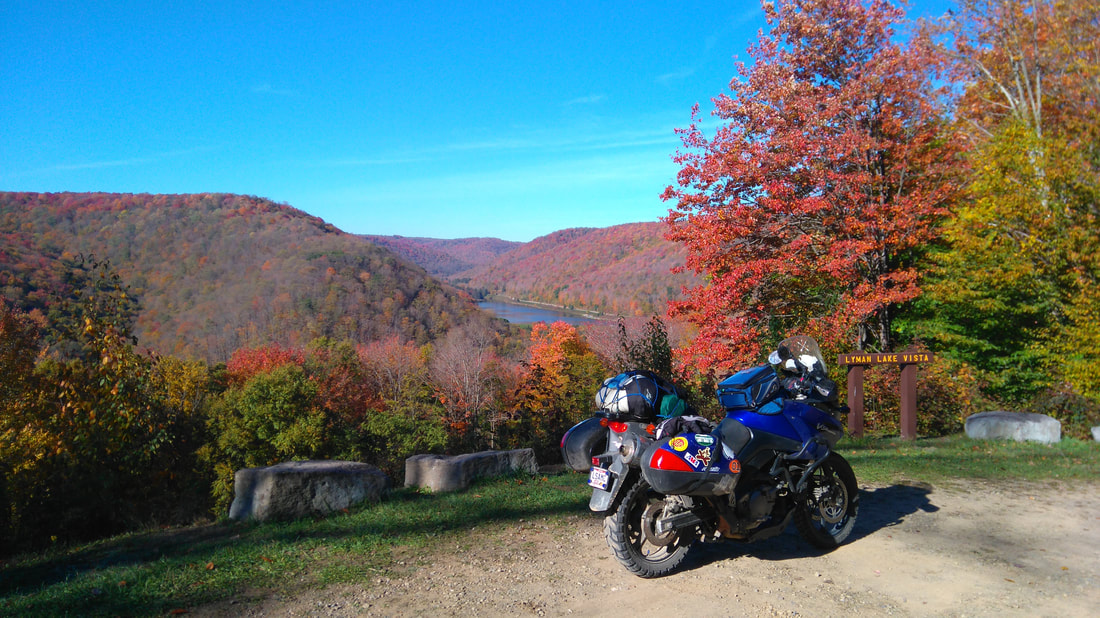
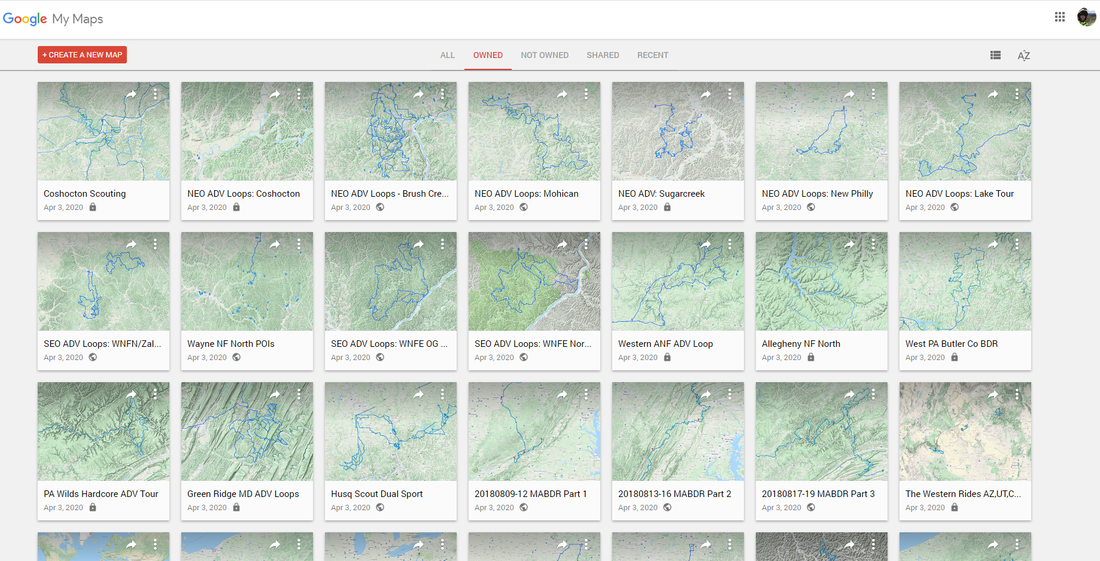
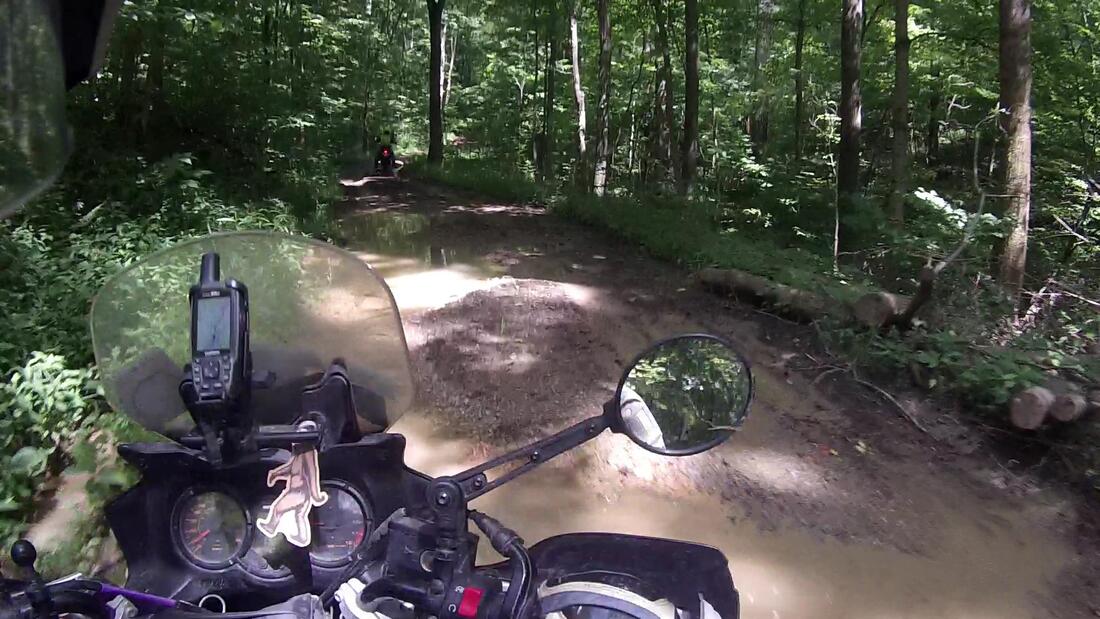
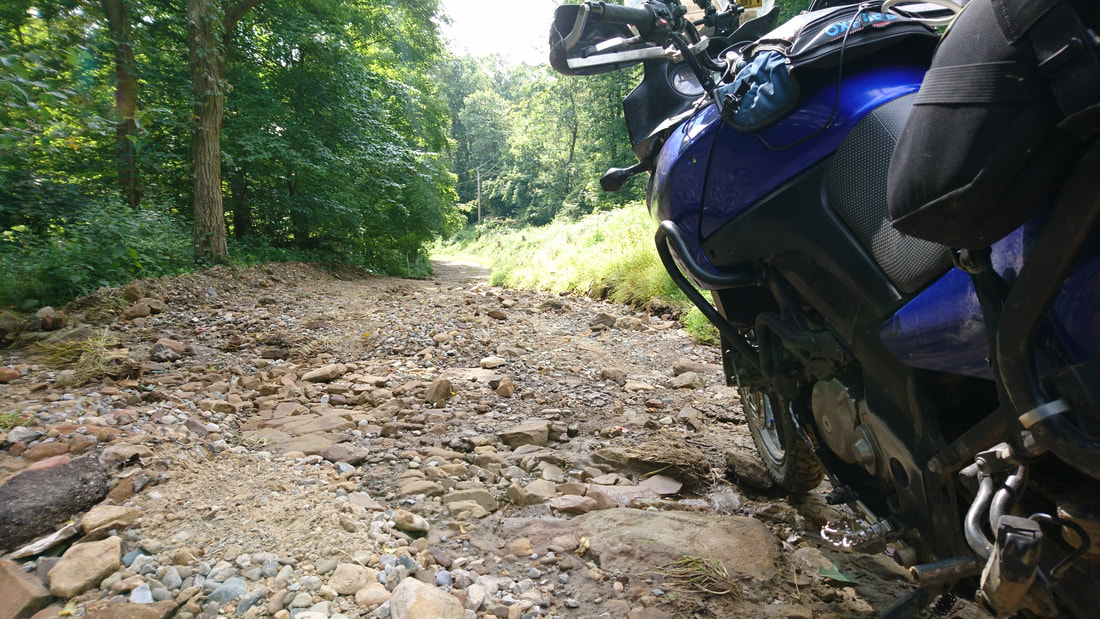
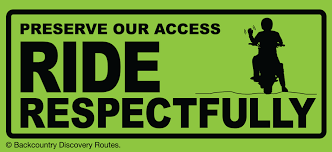
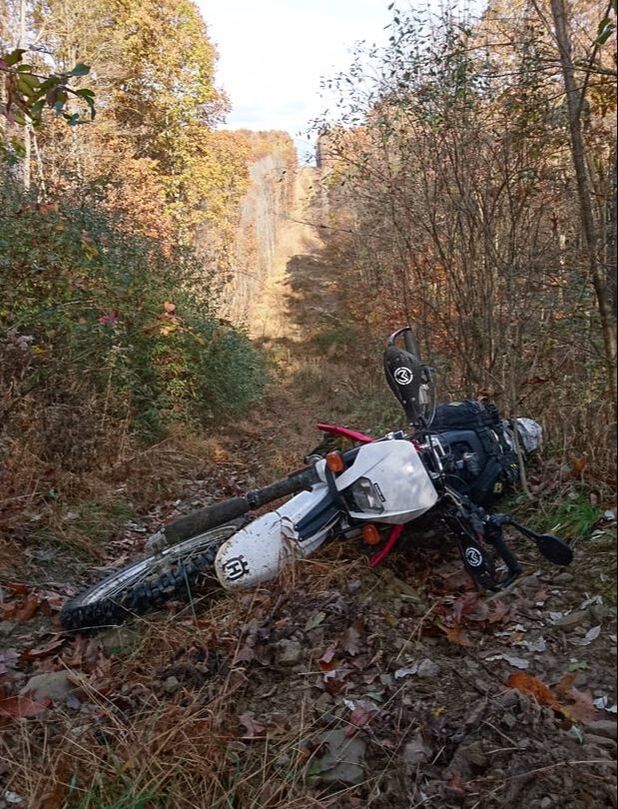
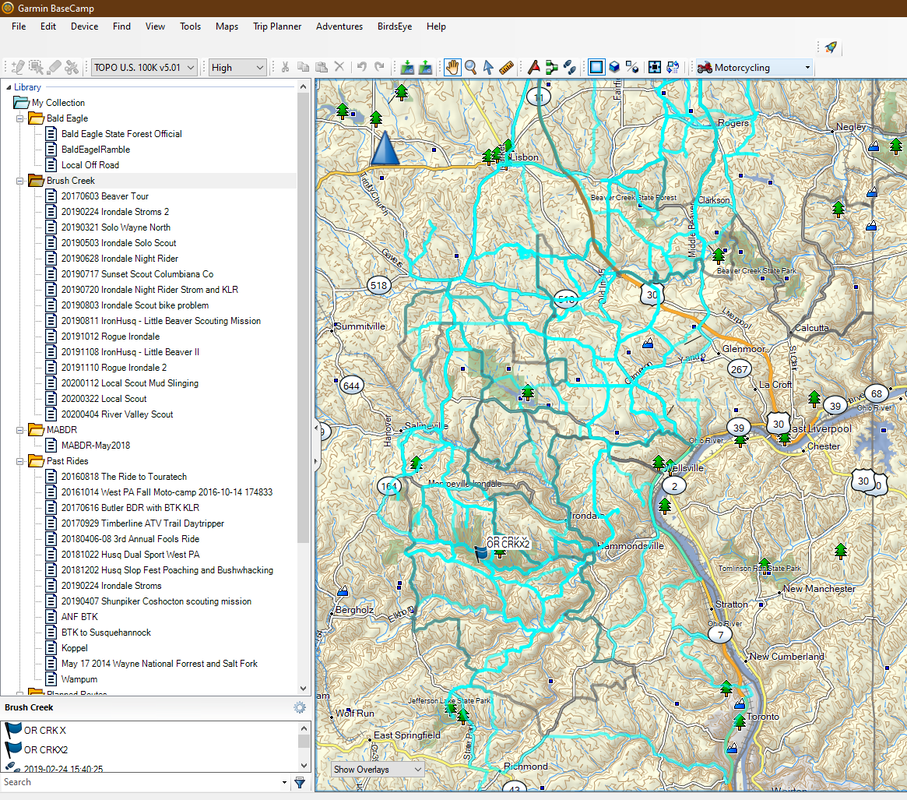
Route development could be considered an art form. It takes a bit of a creative mind and an adventurous spirit to patch together an enjoyable ride. Creating a route that follows the curves of the track, the elevation changes of the terrain, and through the beauty of our world can be done by just jumping on the bike or by careful and meticulous planning. For me, a little research before going out has proven to be well worth the effort. You come up to an interesting looking dirt road, but where does it go? I have taken it on a whim and found excellent terrain, but I have also found myself on someone’s front yard. When taking the time to do the homework, I already know that dead end doesn’t go anywhere. However, I do know taking the next intersection leads to an unmaintained dirt road following the ebb and flow of a creek, climbs to a ridge line, and brings you to a scenic vista. Sometimes that creativeness and desire for adventure can get you into sticky situations… Early in my riding career as I was developing not only my route scouting but also my off-road riding ability, I found a nice-looking trail around the Hocking Hills area in southeast Ohio (with the help of the satellite view, but I’ll get into that later). Although it was only my trusty Suzuki V-Strom 650 and I staring at that path, I decided to explore. The initial ascent was filled with large loose gravel interspersed with grassy 2-track sections. After slip sliding around, I came to a flat patch of tallgrass next to a powerline tower. From my initial scan of the area I thought the fun was over. Following the powerlines, there was a steep drop into a ravine and then another nice long uphill covered in grass. But wait, what is that to the left heading into the woods? Seems to be a nice looking two-track following the high side. Hmm, I think I should take a closer look, since I’m here. I jumped back on the bike and pointed that front Heidenau K60 into the woods. The Wee handled the contours of the terrain well, with a couple small whoops thrown in for good measure. Back out onto the powerline thoroughfare, I took a short jaunt across the tallgrass and I found myself back on the pavement. “Let’s do that again!”, the Wee begged of me. I looped back to my initial entry point, but this time gave it a bit more juice and didn’t stop before entering the wooded trail. Once at the top of the hill I felt exhilarated and decided to take the route in reverse order. As I shot down the powerline gap, I ended up missing the entrance into the woods and found myself rapidly descending towards that gully I mentioned earlier. The slick grass was no match for the flat center patch on the K60 rear and it spun wildly as I attempted a hard U-turn. Bike down. Back upright, I started hammering the throttle but could not get the bike to move up the steep grassy pitch. The mid-summer sun was baking the bike and me, so all the throttle hammering had us both overheating. To give us a break I scouted out the area, searching for a way out of this mess. Downhill through the woods was sketchy at best. Jumping out of the gully up onto the powerline tower’s flat area was just not going to happen on the big bike. My best plan was to pull the bike about 12 feet uphill to where it flattened out next to the woods. For some reason I had a towel and used it to help leverage the bike, front end then back end, walking it up the hill. After about 30 minutes of profuse sweating I pulled the bike upright on my targeted spot, fired it up, and was able to spin that K60 back towards the upper entrance. Luckily, the only casualties were a turn signal and a couple ripped calluses. What an ordeal in the name of adventure and searching for the good stuff. So, what did I take away from this scenario? Too much fun can lead to a test of mental and physical stamina. Be prepared to dig yourself out of a hole if you scout rougher terrain all by your lonesome. It does help to have the ability to call in the cavalry via cell phone or a GPS communicator like a SPOT Gen3 if you end up not having the ability to shovel yourself out of that sticky situation. Sometimes its better to plop down a marker on the ole GPS unit and come back with a buddy that can help you pull your bike out of that ravine. The right rubber on the rim for the terrain you will be tracking through is paramount. My process for developing and scouting routes has changed over time but the desire behind the process has remained the same. I like to explore off the beaten path and “discover” new places. I put quotes around that because one person’s discovery can be another person’s daily life, but that doesn’t make it less adventurous for you! I love to find new places and connect great routes to share with my fellow ADVers. That being said, I do enjoy riding other well-developed routes such as the Backcountry Discovery Routes, Bald Eagle Dual Sport Loop, Monday Creek OHV Trails, Hatfield-McCoy OHV Trails, participate in ADV and Dual Sport Rallies, as well as tackle routes developed by friends. Now and then, it is nice to let someone else do the hard mapping work so you can just ride. I won’t bore you with the details of my route development evolution, but I will share my current process. Hopefully this will aid other riders that may be just getting into the sport and have an interest in figuring out how to patch together routes. You might have or come up with your own way to build routes but maybe you will find a little nugget in here that you can throw into your arsenal. The seed of a route can begin and evolve several different ways. The out and about method: maybe I passed through an interesting area or a friend clued me in to a great spot that they have ridden. The research method: searching the internet, social media, message boards, etc. for suggested areas of interest for an ADV or dual sport rider. The homework method: reviewing and searching paper and electronic maps, including those provided by state and national forests (which is what I have in my hands in the opening picture, a homemade water-resistant printout of the official Allegheny National Forest map). No matter what the initial spark was, to develop a route I will generally use all methods but spend the most time scouring the maps. Google My Maps has been my go-to electronic mapping system. Their maps are generally up to date and you can toggle back and forth from terrain view (topographical map style) to satellite view. This comes in handy to get a better feel for what those squiggly lines are actually doing (uphill vs. down, potential trail/off-road spots, paved vs. gravel vs. 2-track, etc.) Points of Interest (POIs), such as gas stations, restaurants, scenic vistas, campgrounds, etc., can also be found relatively easy by zooming around the map or utilizing the search bar. POIs are listed on the My Maps program similarly to the Google Maps program that you normally use for point to point driving directions. An option to open these POIs in Google Maps is available and may include information that is more detailed. While over there on the general Google Maps it can also come in handy to use the Street View functionality or look at other user’s photos to get a ground level view of any POIs, when available. Set up the beginning of your route by either using an address or by dropping a pin, then connect the two points using the Add Directions function. Now the creativity begins, drag that route around to the most interesting looking roads and create your masterpiece. Those POIs noted above can be included in your route by dropping custom-titled pinpoints. When reviewing the route on My Maps, you can display statistics such as mileage, approximate time to complete the route (not including break times, more on that below) and turn-by-turn directions. When collaborating with a buddy, you can use the share function of My Maps. With this feature both of you have access to work on the same map/route and provide suggestions throughout the development process. A disadvantage to My Maps is that there is a limit to how many routes, how many times you can drag a route, and the number of pinpoints you can use per map. This doesn’t mean that you are completely limited as you can create multiple maps if you do have a long or multi-day route. Another great option is to move your track over to the Garmin Basecamp program where it is easier to make multiple manipulations or connect multiple routes but more on that later. No roads on the particular route you are trying to create? See something interesting on that satellite view or from a previous scouting mission and want to try and include it in your mapping? There is a function to add Lines to the Google My Map route, which will give you a distance measurement when you are done. You can customize the color and width of the Line to set it apart from the road map. These Lines can also be loaded and displayed on most GPS devices. Another nice feature is a measurement tool. The tool functions like the Line creation process but after your measurement is complete, it is automatically deleted from the map. The Google Machine will give you a true distance, but the timing displays as if you will run through it non-stop at the recommended speed limits on each road. If My Maps is telling you the route will take five hours, in reality it will take longer. The true time will depend on how often and long you take breaks or how many times your bike takes a nap and you must lift it from its slumber. If most of the route is going to be on paved surfaces, then the mileage and time can both be a little longer when you build the route. As an example, a 250-mile paved route with a displayed time anywhere between 5.5 and 6.5 hours might have a true length of eight hours depending on the type of pavement (divided highway, curvy state roads, off the beaten path county roads, etc). If the route is going to be covering rugged terrain such as gravel, unmaintained dirt, and/or some off-road spots then those numbers will shrink. An example here would be a 100-mile route that displays a four to five hour time would truthfully take eight hours to complete. If you added a Line as noted above, you should factor the potential time it will take to explore that (hopeful) off-road goodness in your calculations. Another aspect in my planning process is if I will be running solo or with a buddy or three. I am willing to increase those numbers if I will by myself but will decrease them if there will be more than one bike. Generally, it seems the more people involved the more likely your ride will take longer. So what type of device should you use to display your route? I have used Cell Phone Apps and dedicated GPS units and the above process will work for both applications. There are many Apps out there that work well but I personally have used the Gaia GPS App developed by TrailBehind Inc. I decided not to use a specific road App so that I can use it for hiking, mountain biking, and other outdoor activities. I also used one of my old phones so that I didn’t run the risk of destroying my current cell (you have the ability to cache maps to the phone’s memory while on WiFi so service is not required when out and about). A few years ago, I switched to a Garmin 64st GPS device with a similar thought process on its purchase. Ram Mounts have created specifically designed and rugged carriers to attach a phone and many GPS units to a bike and they have been my go-to. It’s a good idea to mount these high and close to your direct line of sight so you don’t have to move your eyes too far away from the road while at speed. So, the first draft of the route is complete and can be downloaded to a KML file from the My Maps program. With the route loaded to my 64st and the bike packed, I’m ready to explore! I may set up a secondary route or use those Lines I talked about above and display them in a different color from the main route on the GPS. I will also use pinpoints to show alternate turns or places I want to explore more off the main route (you can custom name pinpoints to help clue yourself in as to why they are there). This way I am not a slave to the little line on the GPS, I have places that I can “wing it” with direction on how to get back to the main route easier. This helps keep me off dead-end roads, unless it looks like there may be a trail there or some interesting terrain! If I happen upon a great find, such as a nice hero section or interesting roadside attraction, I can use the Garmin to drop a pinpoint for future reference. Of course, follow the Backcountry Discovery Routes latest advice in their Awareness Program and Ride Respectfully. Click the picture above for the full details but generally… if it is posted don’t tread and be courteous to the locals. When out and about, give people a wave or engage them in conversation when you are taking a break. This helps with perceptions of our motorcycle community and you never know when you (or the next rider) might need to ask them for help. They may even point you in the direction of some interesting terrain. On a ride down near Zaleski State Forest in southeast Ohio I was chatting with a local during a gas stop. The spark of the conversation was his interest in our bikes and to tell us a little bit about his 2-wheeled experiences. At the end of the conversation, he ended up giving us directions to a few dirt roads not too far away. Our new friend looked like a scruffy Kris Kringle and he sure delivered some ADV gifts to me and my riding buddy with his gracious advice! When on the ride, the Garmin records my movements and I will load each scouting mission’s recorded tracks to a new map on Google My Maps and Garmin's Basecamp program. This way I can keep track of which roads I’ve tried and which ones I may want to try next. The creative tweaking will continue as I reference the scouting missions’ tracks to adjust the main route on the My Maps program. This can go on for many revisions and truthfully, I may never ride a developed route the same way and throw in slightly different connectors to my favorite spots. It is also helpful to load previous tracked routes to the GPS and display them in different colors when you are out there to help with your exploration. When I find a hero section or challenge area, I have gone back with my plated dual sport bike to take a deep dive for a thorough scout. My Husqvarna TE310 is a great bike to help me gauge if I will be able to get the big bike through some of the more challenging terrain when I don’t have a buddy to help me tackle it with the ADV bikes. I don’t want to risk another situation like the opening of this article if it looks really tough! Of course, the Husq is also a great tool to help build skills that crossover to the big bike as well as just great fun on the single track! The more I have done this process, the easier it has been to pick out which roads and routes will be pretty good when zooming around the Google My Maps program. It’s not a perfect process, it takes a lot of trial and error, but it is fun and worth the effort when I put together a decent ADV ride. My process has definitely evolved this way because of where I am in this country. Living on the edge of Northern Appalachia, we don’t have the vast expanse of the western states, although northern Pennsylvania is pretty darn close. Most ADV rides will need to include pavement, will pass by more populated areas, and our side of the country has been around longer so many of the great dirt roads of old have since been paved (or chip sealed). Luckily, there is still plenty of wilderness in the surrounding region along with many state and national forests lands throughout Appalachia and the East Coast. All of us can, and should, take full advantage of these national treasures that remain rustic. One thing all motorcyclist have in common is the desire to find that next great thoroughfare. Regardless of our chosen style, we can’t help but explore all the nooks and crannies of our surroundings. Think of the roads and trails out there like a puzzle but everyone has the option to build it any way they want, sometimes even changing around the pieces. By doing so, you get to put your fingerprints on this customizable puzzle and make it your own, to get that feeling of a true ADVenturer. Something like Lewis and Clark…or at least a modern-day version. Updated January 2022: The Garmin BaseCamp program functions to move GPS routes to and from the Garmin devices but it can be used to help develop routes as well. As I have progressed as a route developer I have started to use the Basecamp program more. I will generally start my routes using the process above on Google My Maps but will finalize the routing on the Basecamp program. Adding optional Expert Off Road Challenge Areas or putting them directly into the routing can be accomplished much easier on the Basecamp program. Once the "lines" are laid down on the map, they can be easily manipulated either by redirecting the route or merging multiple lines/routes. I have started routes in the Google My Maps program, sent them over to Basecamp, cut them up and redirected them, added a Line or short connector section in the My Maps program, moved it into Basecamp, manipulated them again, then merged the pieces to make a loop or route. This process has come in handy but can be tedious. The more you do it, the easier it becomes. It adds a level of ease when displaying the routes on my Garmin 64st as well. Epilogue...Maps and globes have always intrigued me. There is just so much out there in the world to explore. From a young age, I realized that I liked knowing where I was going...
We drove a lot when I was growing up because my school, my mom’s work, and our house were in different cities. She would always find new ways to connect our travels between them, to make it less monotonous and a bit more adventurous. I remember my grandfather having me call out the directions to our destinations from the back seat. I vividly remember him driving me to one of my little league baseball games but he would not make a move until I guided him. I had to be extremely detailed in my instruction, including turn-by-turn directions (left, right, straight) and compass references (north, south, northwest, etc.). I could not just say go straight while we were in motion either, there were curves in the road. He would say, “OK straight, does that mean I am supposed to drive the car straight through these woods?” My elementary school took us on a multi-day trip to Camp Fitch one year and our teacher, Mrs. Washington, had a hand drawn map with towns and various POIs for us to reference while on the journey (no such thing as Google in the mid ‘80’s!). Most kids on the drive were partying it up but I had a lock on our exact location with help from our crude chart. I remember different kids shouting out to me for status checks on our location throughout the drive. I now try to take all of that learned attention to detail and apply it to my motorbike travels… the desire to find different and more interesting connections, where the compass is pointing, exactly where the terrain is flowing, and my place on the map. Is my process perfect? No. Am I sometimes (temporarily) lost or turned around? Yes. Isn’t that the point of two-wheeled travel? Getting lost to find yourself.
2 Comments
Id love to offer a suggestion. I use the map provided by the website I provided. It uses Google maps as a base map. I then open Garmin Basecamp and begin dropping pins. I bounce back and fourth (Helps a great deal if you have two monitors) between Basecamp and the map above and end up with pretty decent results.
Reply
11/13/2020 16:29:25
Nice! Definitely add that website to my arsenal, good stuff. Thanks!
Reply
Your comment will be posted after it is approved.
Leave a Reply. |
Appalachian ADVAdventure & Dual Sport Motorbiking, LLC Kane's Twisted Throttle Twists & Turns Blog Articles
Kane's Denali Electronics Blog Articles
Archives
February 2024
© Copyright 2024 Appalachian ADV - Adventure & Dual Sport Motorbiking, LLC
A Veteran Owned Company [email protected] PO Box 3103 Youngstown, OH 44513 |
Proudly powered by Weebly













 RSS Feed